WordPress: Images in Content
Images may be added within a web page’s content.
Use the Featured Image functionality if you wish to only add a single image to the top of page.
Image Specifications
Please use the following specifications for images that you wish to add to pages.
File Format
- JPEG for photographs
- PNG is preferred for images with simple graphical elements like logos or pie charts
Landscape Orientation
Landscape (i.e. wider than tall) images should be 768 pixels wide by 450 pixels high. When inserted into a page, they should be full-size and will therefore span the entire content area.

Portrait Orientation
Portrait (i.e. taller than wide) images should be 358 pixels wide by 412 pixels high. When inserted into a page, they normally should be floated left, which means other content wraps around the image. The system will automatically limit the width of such images depending on the user’s device screen size.

Adding an Image
Insert an Image Block
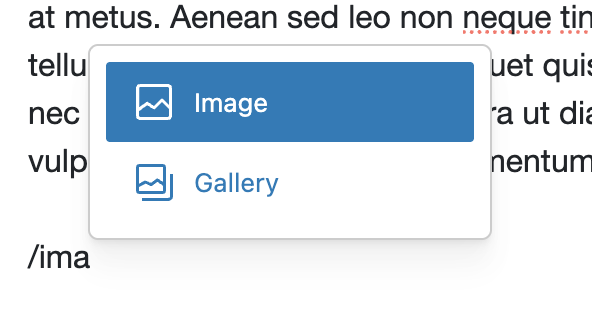
With the cursor in the block placeholder (where it says Type / to chose a block), type forward slash / and either choose image or start typing ‘image’ until the image option is visible for you to select.
Upload or Select the Image
The image selector/uploader appears the image’s location. As instructed, you may drag and drop an image, or select the Upload button to add a new image. You may also choose an existing image by selecting the Media Library button.

Configure the Image
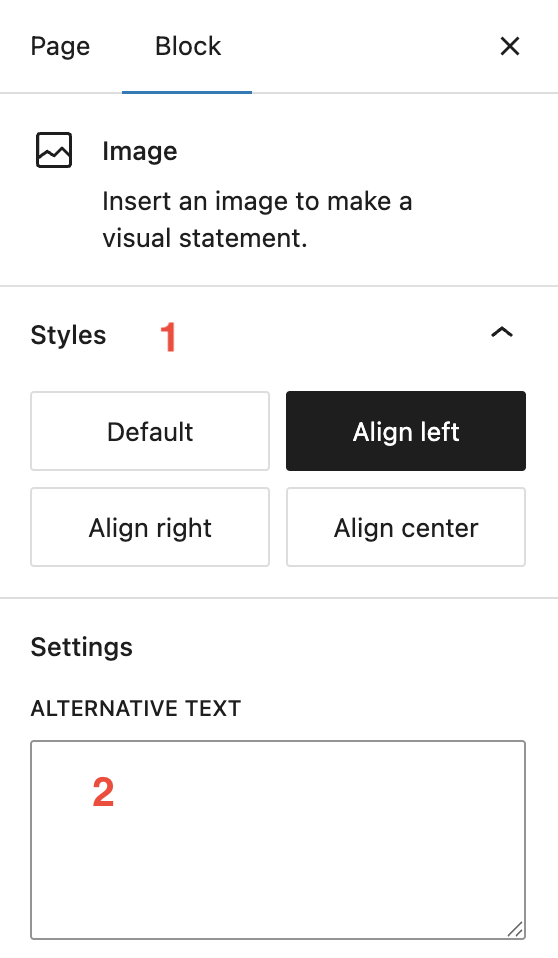
In the right sidebar settings you can configure the settings thus:
1. Styles
You can set the alignment of an image but note the following:
- Portrait image: the preferred alignment for portrait images is Align left. This will wrap surrounding copy to the right of the image. An alternative is Align right, but use only to break up a page with multiple images. Avoid Default or Align center (both will be displayed in the same way. normally.
- Landscape images: as landscape images suit a full-width layout, choose Default or Align center and avoid Align left and Align right
2. Alternative Text
Alternative text is required for accessibility. Keep the text short and descriptive of what is in the image. Avoid including details that aren’t apparent in the image. Use the caption setting for additional information (see below)
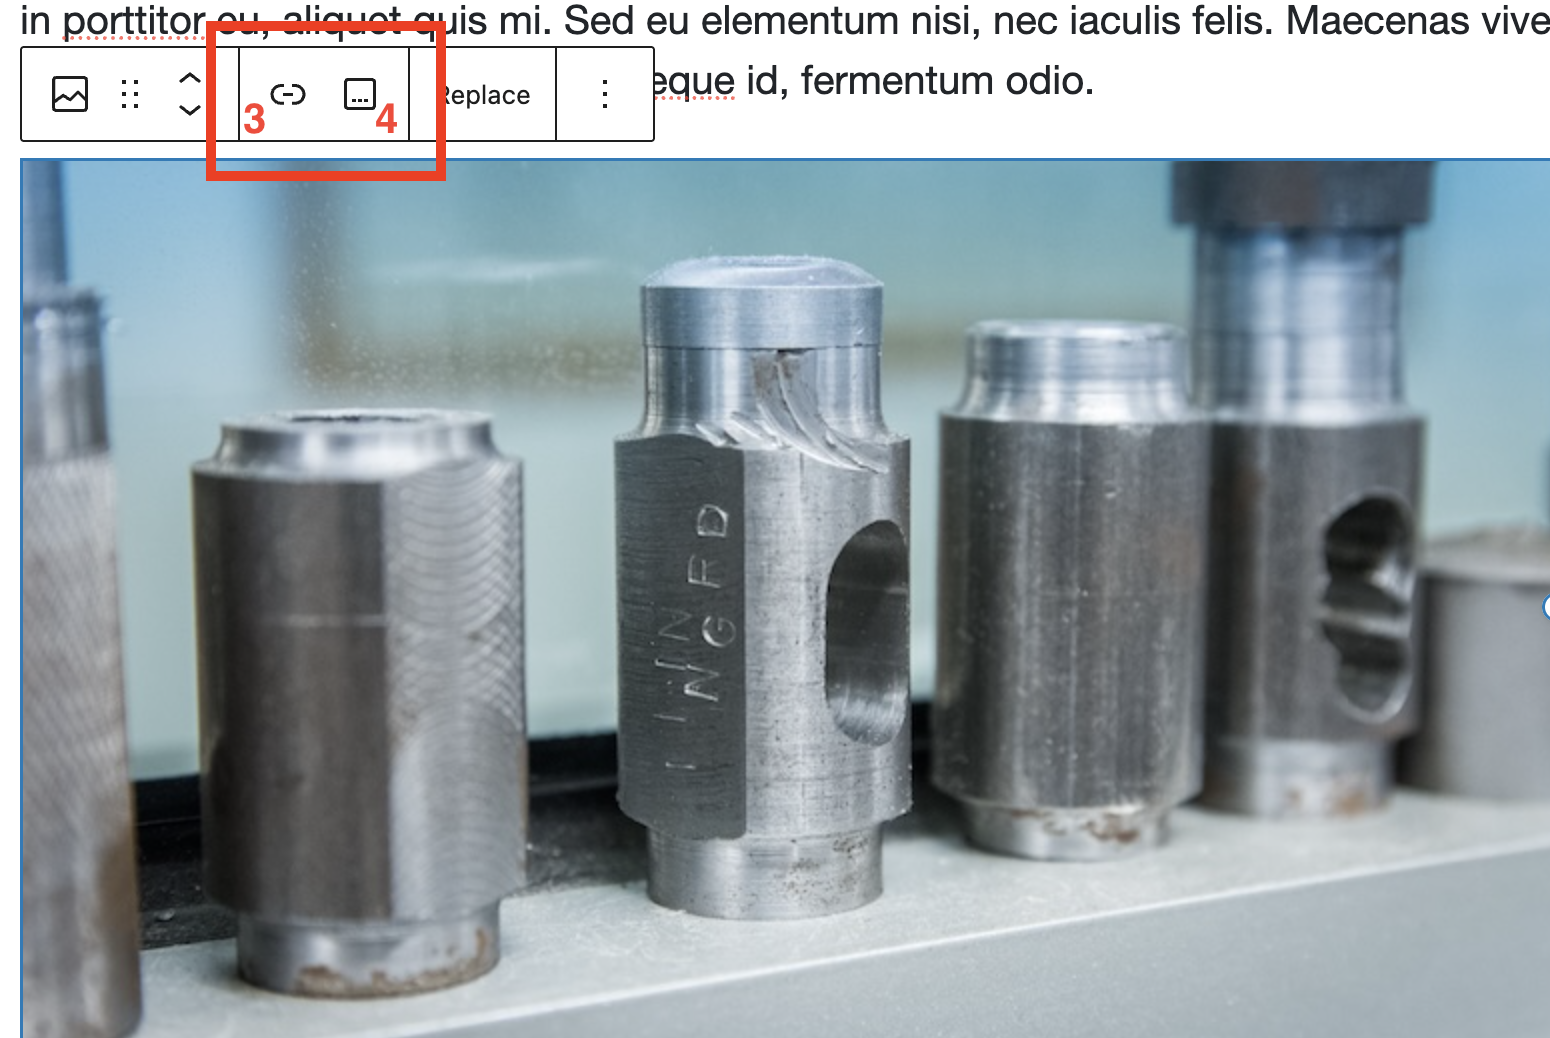
3. Image Link
With the image selected in the editor you can access the image link setting in the toolbar. This provides options for when the user clicks or selects the image.
While the image may be linked to another page or resource, you normally do not want to do this. A case where you may want to link an image is if the image were the cover of a document. By default when inserted, the image is not linked.
You may also need to link the image to itself, for example if you wish the user to have a larger view of it. You do not normally need to do this for a decorative image but it may be necessary for an image that is conveying some kind of information.
4. Caption
To add a visible label underneath an image, select the caption button. Text is entered underneath the image itself. Use the caption to add more information or context to an image.