WordPress: Featured Image
To add a single image to a page or post, the simplest method is by setting the Featured Image. This will position the image at the top of the page and adjust its dimensions to meet the College’s preferred image specifications.
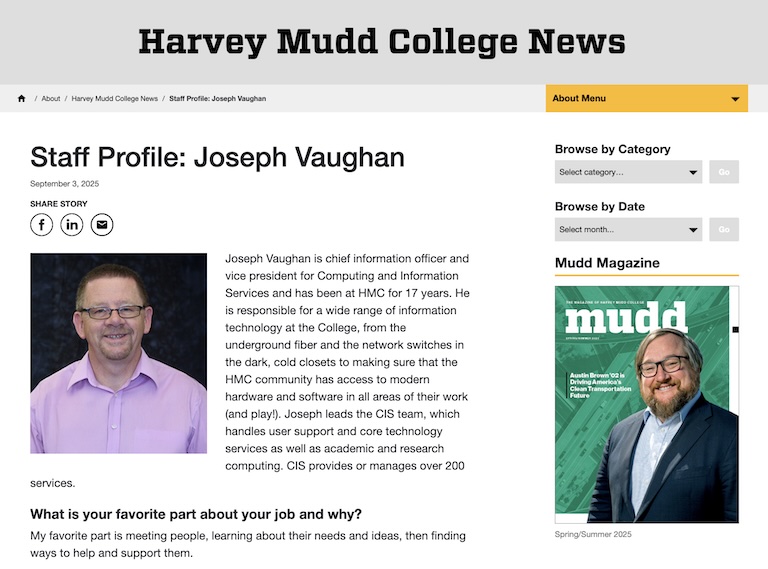
Featured Image Examples

Featured Image Specifications
Landscape Orientation (Wider than Tall)
Our specification size for a landscape orientation featured image is 768 x 450 pixels. If you use an image that does not exactly meet these dimensions, it will be displayed as if it were to 768 x 450 pixels with any excess cropped from view. This may affect the image’s composition so to ensure the image is displayed to your liking, the safest option is to ensure it is 768 x 450 pixels to begin with.
Portrait Orientation (Taller than Wide)
Our specification size for a landscape orientation featured image is 358 x 412 pixels. If you use an image that does not exactly meet these dimensions, it will be displayed as if it were to 358 x 412 pixels with any excess cropped from view. This may affect the image’s composition so to ensure the image is displayed to your liking, the safest option is to ensure it is 358 x 412 pixels to begin with.
File Size and Format
Most images and all photos should be in .jpeg format as this format has smaller file sizes. .png format is optimal for graphics and images with solid colors. If used for photographs, .png can produce large files sizes so should not be used.
All images should have the smallest file size that produces satisfactory quality. No image should be greater than 1MB in size.
Add a Featured Image
Open Page Settings
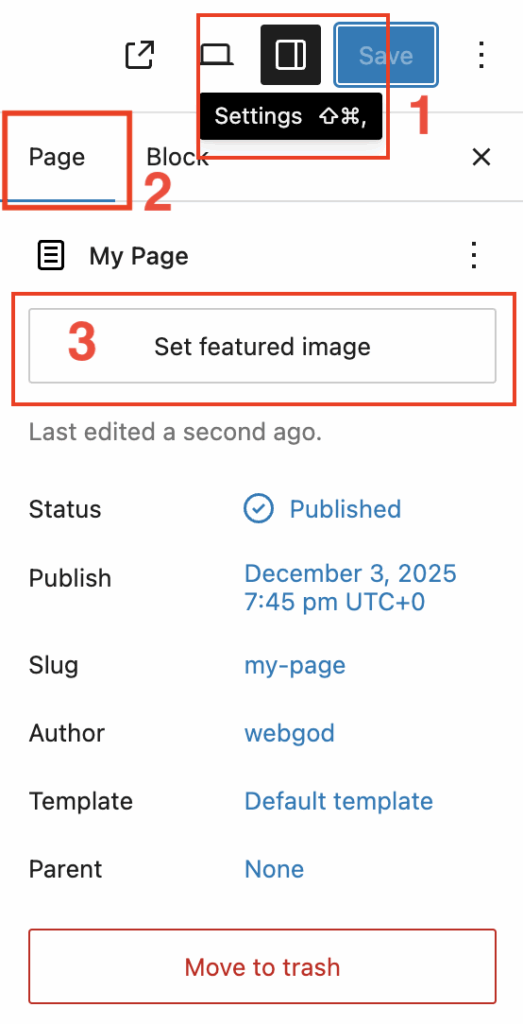
- In the page or post editor, ensure the settings sidebar is open
- Ensure the Page tab is selected
- Select the Set featured image button
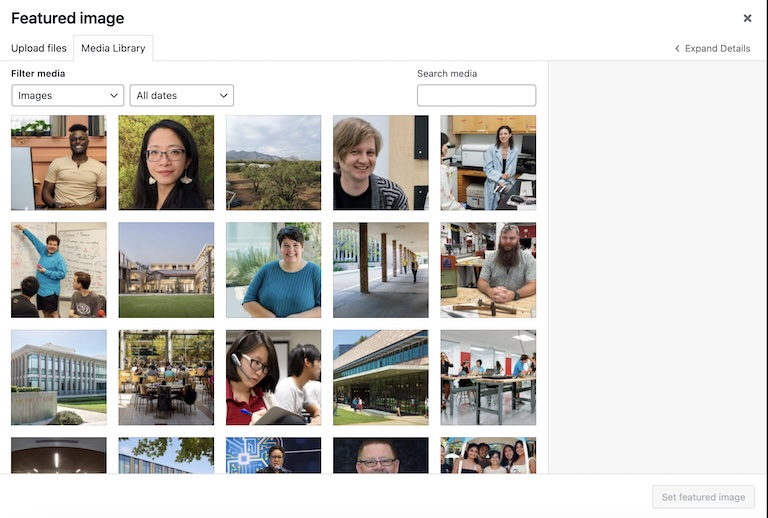
Upload or Choose Image
There are two tabs: Upload Files that allows new images to be uploaded and Media Library that allows one to be chosen from the existing library.
Upload Files
Using the Upload files tab, images may be drag and dropped or selected for upload as defined by your computer’s operating system.

Media Library
Alternatively, select a previously uploaded image from the Media Library tab.
Configure the Image
After either uploading the image or selecting an existing one from the library, the right side of the library popup allows configuration of the image:
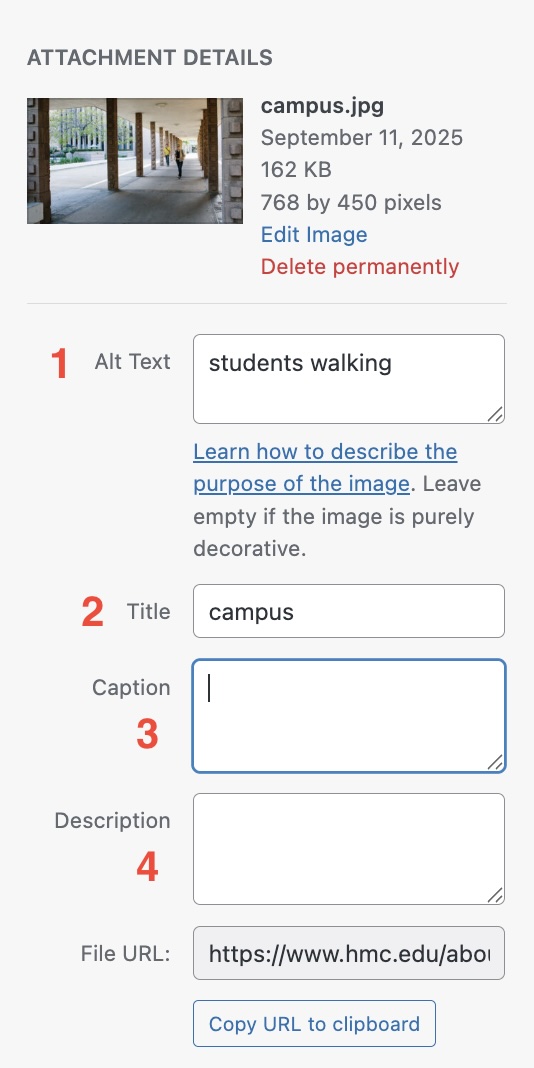
- Alt Text (required). If a caption is not specified, then alt text is required.
- Title. This is not used on the website but will allow images to be searched more easily within the library. Images should be named relevantly and simply.
- Caption (optional). Any text entered here will be displayed underneath the image
- Description. Not required or used and may left blank.
When finished, select the Set Featured Image button. A thumbnail will indicate that the image is set.